This article provides a comprehensive overview of washing machine shut-off valves, including their purpose, features, types, common issues, and step-by-step guidance for maintenance, replacement, and safe operation.
What is a Washing Machine Shut-Off Valve?
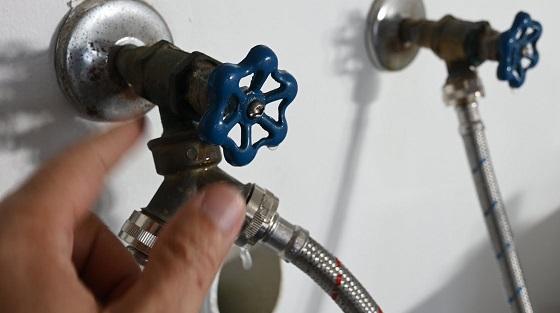
A washing machine shut-off valve is a plumbing device installed on the water supply lines that connect to your washing machine. Its primary function is to control the flow of water into the appliance, allowing users to turn the water supply on or off as needed. These valves are essential for maintenance, emergency situations, and preventing water damage.
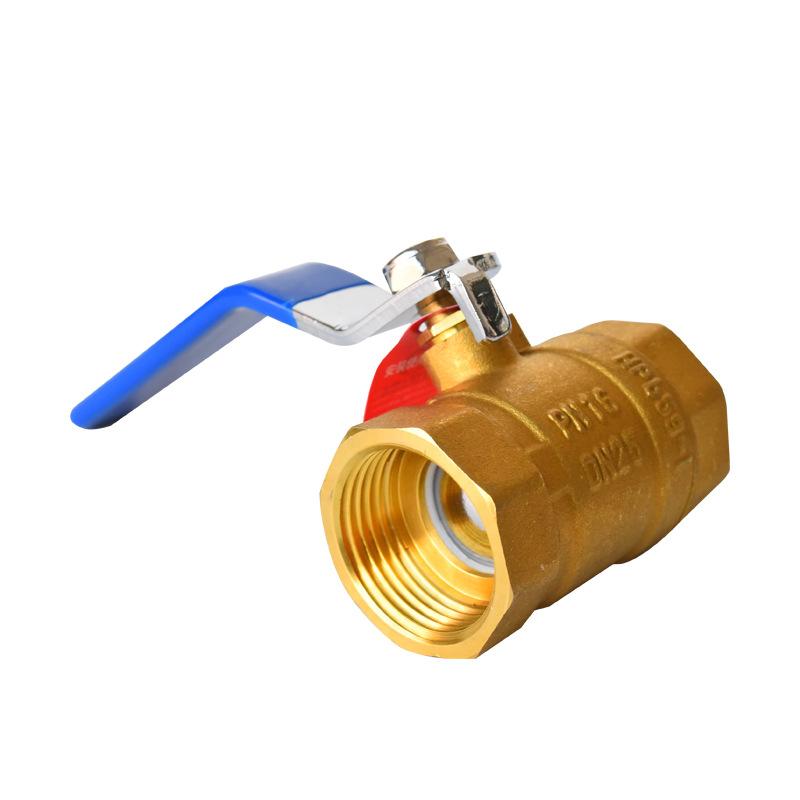
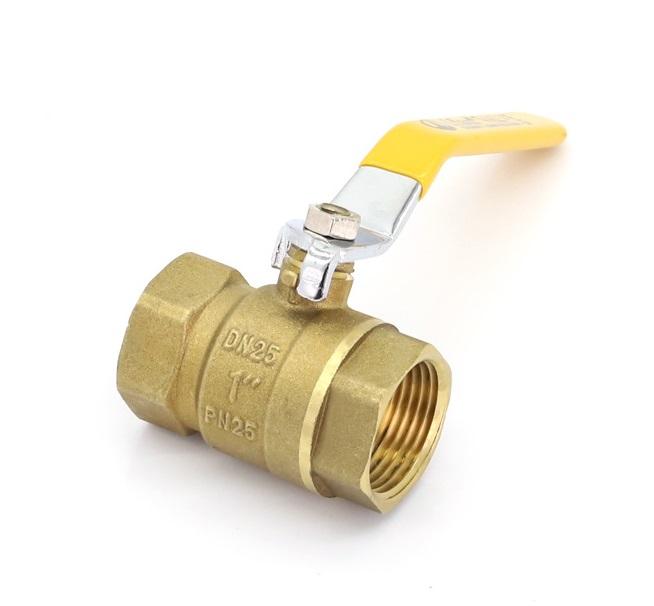
Typically, shut-off valves are located behind the washing machine where the hot and cold water supply hoses connect. They can be made of brass, stainless steel, or plastic, depending on the manufacturer and model.
Key components of a washing machine shut-off valve include:
- Handle/Knob: Allows the user to turn the water supply on or off.
- Valve Body: The main structure of the valve, housing the internal mechanism that regulates water flow.
- Inlet and Outlet Ports: Connect to the water supply line and washing machine hoses.
- Seal or Washer: Prevents leaks by creating a tight seal when the valve is closed.
Why Washing Machine Shut-Off Valves Are Important
Washing machine shut-off valves play a critical role in home plumbing for several reasons:
- Preventing Water Damage: If a hose bursts or leaks, shutting off the water immediately can prevent flooding and property damage.
- Maintenance and Repairs: Allows homeowners to safely disconnect the washing machine for maintenance, hose replacement, or appliance upgrades.
- Energy and Water Efficiency: Reducing water flow when the machine is not in use can help conserve water and reduce utility bills.
- Emergency Situations: Quick access to shut-off valves can save homes from catastrophic leaks during appliance malfunctions.
How Washing Machine Shut-Off Valves Work
The basic mechanism of a washing machine shut-off valve is simple yet effective. When the handle or knob is turned, it moves an internal gate, ball, or diaphragm to either allow or block the flow of water.
There are generally two main types of mechanisms:
- Gate or Ball Valves: These have a rotating ball or gate inside that aligns with the water inlet to allow flow or blocks it to stop water.
- Compression Valves: These rely on tightening or loosening a stem that compresses a washer against the valve seat to stop or allow water flow.
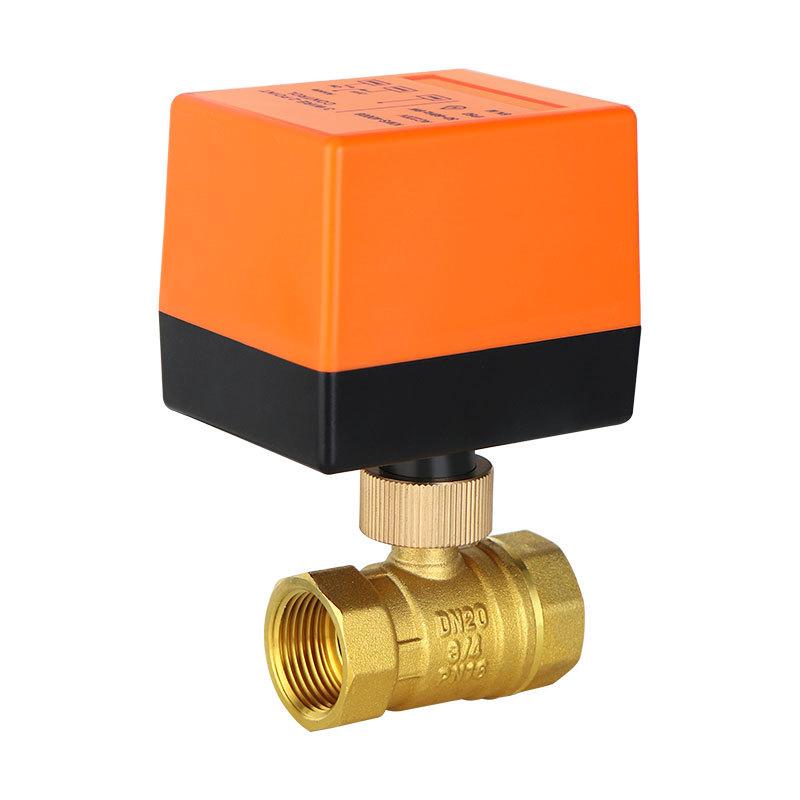
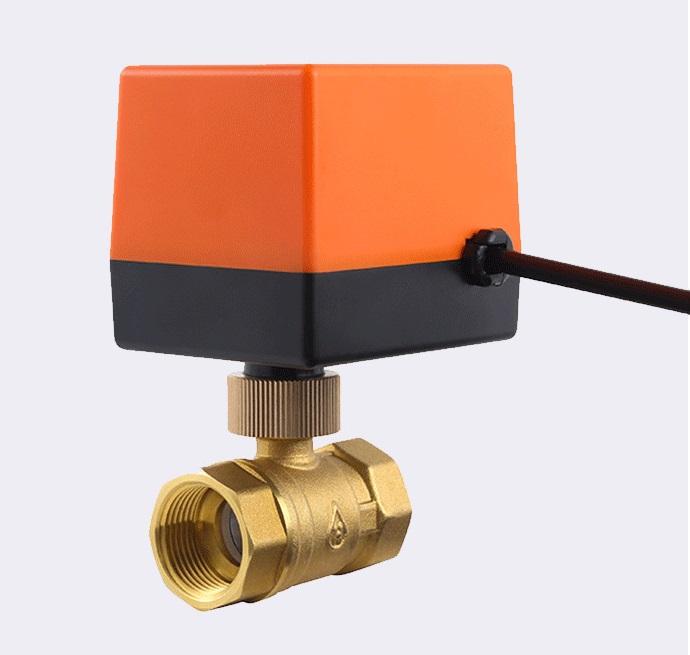
Some modern valves also include quarter-turn handles and anti-leak features for added convenience and durability.
Common Types of Washing Machine Shut-Off Valves
Washing machine shut-off valves come in several types, each with unique features and applications:
- Standard Compression Valves: Traditional valves that require multiple turns to open or close.
- Quarter-Turn Ball Valves: Valves that operate with a simple 90-degree turn, often more reliable and easier to use.
- Angle Valves: Designed with a 90-degree angle to fit neatly against walls or behind appliances.
- Push-Button or Lever Valves: Modern valves that offer quick shut-off with minimal effort.
Signs You Need to Replace a Washing Machine Shut-Off Valve
Over time, shut-off valves can wear out, corrode, or become damaged. Recognizing the signs early can prevent leaks and potential flooding:
- Water leaks around the valve or handle.
- Difficulty turning the valve handle.
- Visible corrosion or mineral buildup.
- Hose connections are loose or unstable.
- Valve fails to fully stop water flow even when closed.
How to Turn Off Water Supply to a Washing Machine
Turning off the water supply to your washing machine is an essential skill for maintenance, emergencies, or repairs. Follow these steps for a safe and effective shutdown:
- Locate the shut-off valves behind your washing machine. Most homes have two valves, one for hot water and one for cold water.
- Turn the valve handles clockwise until they stop. This closes the valves and stops the water flow.
- Verify the water is off by attempting to run the washing machine briefly or disconnecting the hose to check for flow.
- Once maintenance or repairs are complete, turn the valves counterclockwise to restore water flow.
Tip: If the valve is stiff or hard to turn, avoid forcing it. Use penetrating oil or consider replacing the valve to prevent damage.
How to Replace a Washing Machine Shut-Off Valve
Replacing a washing machine shut-off valve may seem intimidating, but it is a manageable DIY task if you follow the correct steps. Here’s how to do it safely:
- Turn off the main water supply: Before removing the old valve, shut off the main water supply to your home.
- Drain the water lines: Open faucets to release any remaining water in the pipes.
- Disconnect hoses: Remove the washing machine hoses from the shut-off valve.
- Remove the old valve: Using a wrench, carefully unscrew the valve from the pipe. Be prepared for residual water.
- Prepare the pipe: Clean the threads, removing any old Teflon tape or debris.
- Install the new valve: Apply Teflon tape to the threads and screw in the new valve. Tighten securely, but avoid overtightening.
- Reconnect hoses: Attach the washing machine hoses to the new valve and hand-tighten, then give a slight wrench turn.
- Turn on water supply: Slowly turn on the main water supply and check for leaks around the new valve.
- Test the washing machine: Run a short cycle to ensure water flows correctly and there are no leaks.
How Much Does It Cost to Replace a Shut-Off Valve on a Washing Machine?
The cost of replacing a washing machine shut-off valve depends on factors like the type of valve, labor costs, and whether you hire a professional plumber or do it yourself:
- DIY Valve Replacement: $10 to $50 for a standard valve, depending on the brand and type.
- Professional Replacement: $100 to $200 on average, including labor.
- Premium Valves: High-quality quarter-turn or anti-leak valves may cost $30 to $80 each.
Choosing the right valve and proper installation can save money in the long term by preventing leaks and water damage.
Preventive Maintenance Tips for Washing Machine Shut-Off Valves
Regular maintenance helps extend the life of your shut-off valves and prevents emergencies:
- Inspect valves regularly for leaks or corrosion.
- Turn the valves on and off periodically to prevent them from seizing.
- Clean any mineral deposits with vinegar or a mild descaling solution.
- Replace worn washers or seals to maintain proper water flow control.
- Consider upgrading to modern quarter-turn or anti-leak valves for long-term reliability.
Common Problems with Washing Machine Shut-Off Valves
Understanding the common issues with shut-off valves can help you troubleshoot problems efficiently:
- Leaking Valve: Caused by worn seals, corrosion, or loose connections.
- Stiff or Jammed Handle: Mineral buildup or internal corrosion may prevent smooth operation.
- Partial Water Flow: A partially blocked valve can reduce water flow to the washing machine.
- Valve Failure: Over time, old valves may fail completely, requiring replacement.
Choosing the Right Shut-Off Valve for Your Washing Machine
Selecting the correct valve is essential for safety, performance, and durability:
- Material: Brass and stainless steel are preferred for durability, while plastic valves are lighter but less durable.
- Type: Quarter-turn ball valves are easier to operate than compression valves.
- Size: Most residential washing machines use standard 3/4-inch valves, but check your plumbing before purchase.
- Additional Features: Anti-leak designs, ergonomic handles, and certifications (like CSA or NSF) can enhance reliability and safety.
Conclusion
Washing machine shut-off valves are a small but essential component of home plumbing. Proper understanding, maintenance, and timely replacement can prevent costly water damage, ensure appliance safety, and provide peace of mind. Whether you are performing a DIY installation or hiring a professional, following best practices ensures your washing machine operates efficiently and safely for years to come.