This article explains how to install a washing machine valve, including step-by-step installation instructions, safety considerations, what tools you need, common problems, whether it is worth repairing a damaged valve, and cost estimates for professional replacement. The guide also includes troubleshooting methods, valve types, and maintenance tips for homeowners and plumbers.
How to Install a Washing Machine Valve
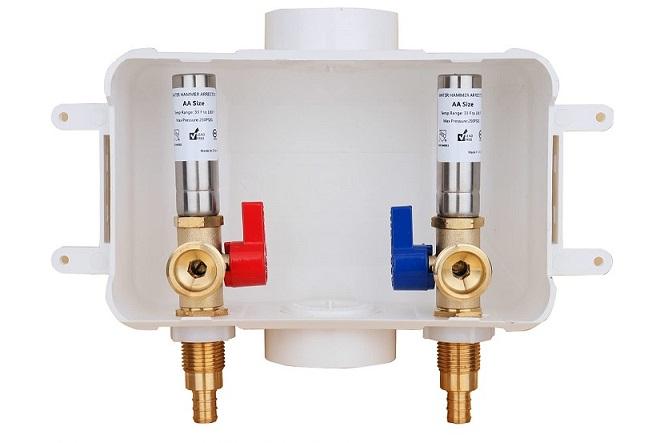
Installing a washing machine valve (also called a washing machine shut-off valve or laundry outlet box valve) allows you to safely control water flow to your washing machine. Most modern homes use either a quarter-turn ball valve or a push-fit valve, while older homes may still have multi-turn compression valves.
Below is a complete guide to installing a washing machine valve in a wall box or directly on exposed copper, PEX, or CPVC lines. Make sure to turn off the main water supply before beginning.
-
Shut Off the Main Water Supply
Locate the home’s main shut-off valve and close it. Open a downstairs faucet to drain residual pressure. -
Open the Wall or Access Panel
If your valve is behind a wall box, remove the trim or drywall section to expose the pipes. -
Remove the Old Valve
Use two wrenches — one to hold the pipe and one to turn the valve. For soldered valves, you will need a heat source to remove the joint. -
Prepare the Pipe Ends
For copper: clean and deburr the pipe.
For PEX: cut with a PEX cutter and slide on the crimp ring.
For CPVC: clean and apply primer (if required). -
Install the New Valve
Your installation method depends on the valve type:- Compression valve: tighten the compression nut and ferrule
- Soldered valve: heat the joint and apply lead-free solder
- Push-fit valve (e.g., SharkBite): push straight onto the pipe until fully seated
-
Secure the Valve in the Laundry Box
Align hot and cold valves, then screw the mounting bracket or valve body into place. -
Turn On Water and Test
Slowly open the main water supply and check for leaks. Tighten fittings as needed.
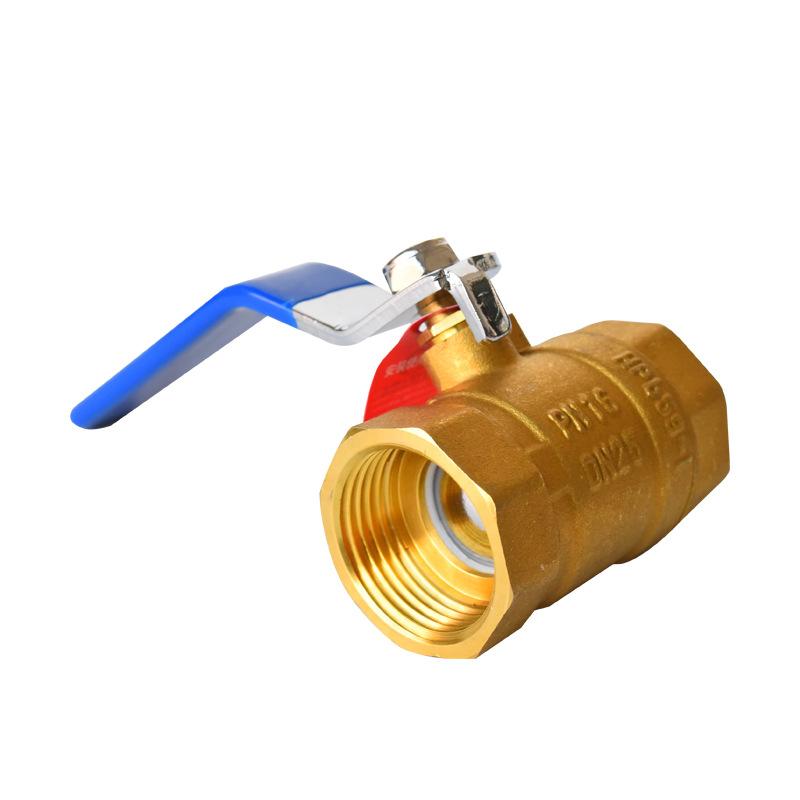
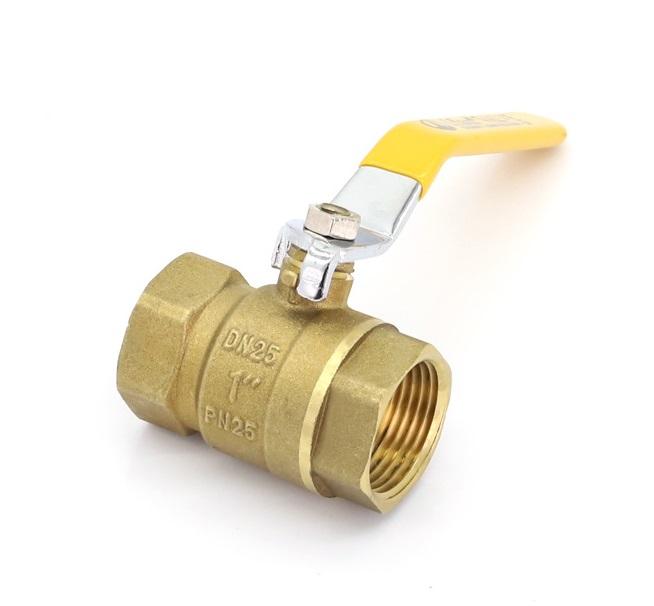
Types of Washing Machine Valves
Washing machine valves come in several designs, each offering various advantages depending on your home’s plumbing system. Selecting the right one ensures long-term performance and easier installation.
| Valve Type | Pipe Compatibility | Best For | Pros | Cons |
|---|---|---|---|---|
| Ball Valve (Quarter-Turn) | Copper, PEX, CPVC | Modern installations | Long-lasting, reliable | Slightly higher cost |
| Compression Valve | Copper | Quick retrofits | No soldering required | Not ideal for high vibration |
| Push-Fit Valve | Copper, PEX, CPVC | DIY installation | No tools needed | More expensive per unit |
| Soldered Valve | Copper | Permanent installs | Strongest connection | Requires torch skills |
What Are Signs of a Faulty Washing Machine Valve?
A faulty washing machine valve can lead to leaks, water damage, or complete failure to supply water to the washing machine. Common symptoms include:
- Water leaks around the valve, hose connection, or wall box
- Difficulty turning the valve (stiffness or grinding)
- Valve won’t fully close, causing water to drip into the washer
- Rust, corrosion, or mineral buildup
- Humming or vibrating noises when water flows
- Water discoloration when using the washing machine
- Cracked or deteriorated plastic in older laundry boxes
If your valve shows any of these issues, replacement is usually recommended to prevent damage such as mold, warped flooring, or flooding.
Tools and Materials Needed for Installation
Having the correct tools ensures a safe and efficient installation. Here is what you typically need:
- Adjustable wrench
- Pipe cutter (copper or PEX)
- Teflon tape (PTFE)
- Plumber’s grease
- PEX crimp tool (if using PEX)
- Heat torch & solder (if soldering copper)
- Push-fit disconnect clip (for push-fit valves)
- Replacement valve (ball valve recommended)
Safety Tips for Installing a Washing Machine Valve
Working with pressurized water lines can be hazardous if not handled properly. Follow these safety precautions:
- Always shut off the main water supply before removing a valve.
- Wear safety glasses when cutting pipe or soldering.
- Use a heat shield when soldering near walls or wood studs.
- Check for electrical wiring behind the wall before cutting.
- Never overtighten fittings, which can crack brass or copper.
Is It Worth Repairing a Washing Machine Valve?
In most cases, repairing a washing machine valve is not recommended. Here’s why:
- Valves are inexpensive compared to the labor involved
- Repaired valves may leak again due to worn internal components
- Corroded valves usually fail completely
- New ball valves are significantly more reliable
Repair may be considered if:
- The valve only needs lubrication
- A compression nut is slightly loose
- The valve is only a few years old and not corroded
However, for leaking, stuck, or mineral-damaged valves, replacement offers a longer-term solution and reduces the risk of water damage.
How Much Does It Cost to Replace a Shut-Off Valve on a Washing Machine?
The cost varies depending on the valve type and whether you hire a plumber. Below is a summarized cost table:
| Item | DIY Cost | Professional Cost |
|---|---|---|
| Ball Valve | $12–$25 | $150–$250 (installed) |
| Push-Fit Valve | $20–$35 | $180–$280 (installed) |
| Labor Only | — | $100–$175 |
| Wall Box Replacement | $25–$45 | $250–$450 |
For older homes with soldered copper lines, expect slightly higher labor fees.
How to Remove a Washing Machine Valve
Removing an old or faulty valve is often the most challenging part of the job. Follow the steps below:
- Turn off main water supply.
- Disconnect washing machine hoses.
- Hold the pipe steady with a wrench.
- Unscrew or heat the joint (depending on valve type).
- Remove old plumber’s tape, solder, or compression ferrules.
- Clean or recut the pipe before installing the new valve.
Common Problems After Installing a Washing Machine Valve
After installing a new valve, you may encounter some typical issues:
- Slow leaks at the connection (usually solved by tightening or reseating)
- Humming noise due to high water pressure
- Water hammer when the washing machine fills quickly
- Difficulty turning the valve if installed misaligned
Most issues can be resolved by adjusting the valve position, applying Teflon tape, or installing a water hammer arrestor.
How to Maintain Washing Machine Valves
Regular maintenance can help extend the life of your washing machine valves:
- Turn valves on and off every 3–6 months to prevent sticking.
- Check for leaks during seasonal inspections.
- Replace hoses every 5 years (or sooner if bulging).
- Clean mineral deposits with white vinegar.
- Ensure valves remain in the fully open or fully closed position.
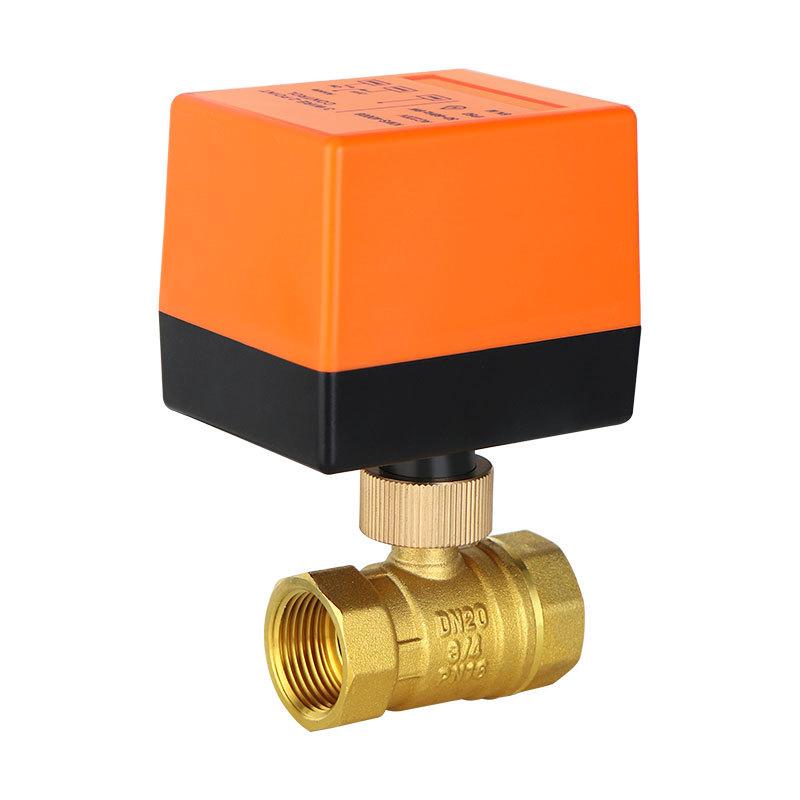
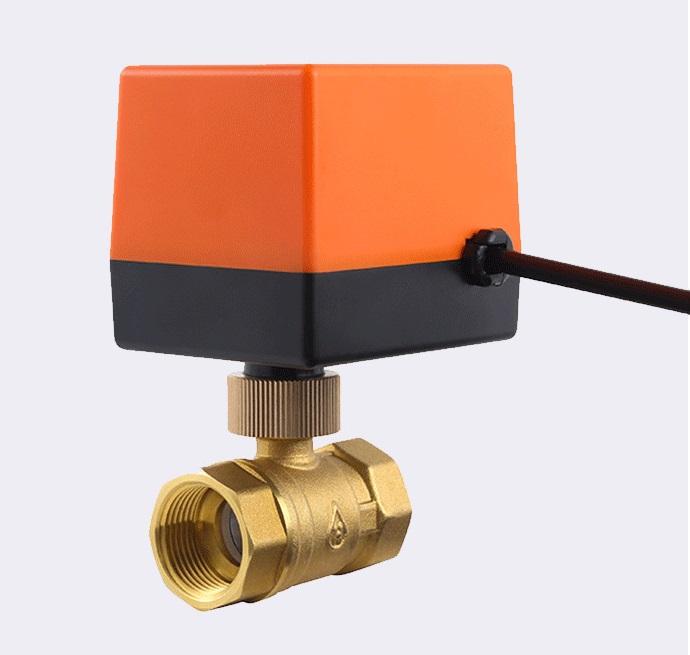
Should You Use a Single-Lever or Dual-Valve System?
In recent years, many homeowners have started switching to **single-lever washing machine shut-off systems**, which shut off both hot and cold water using one lever.
| System Type | Advantages | Disadvantages |
|---|---|---|
| Dual Ball Valve (Hot/Cold) | Common, inexpensive, easy to replace | Must turn off two valves |
| Single-Lever System | One motion shuts both lines, safer for vacations | Higher cost, more complex installation |
Frequently Asked Questions
Below are quick answers to common questions homeowners have about washing machine valves.
-
Do washing machine valves go bad?
Yes — especially older multi-turn valves, which wear out sooner.
-
Should I turn off my washer valves when not in use?
Yes. Turning them off prevents pressure buildup and reduces the chance of hose bursts.
-
How long do valves last?
8–20 years depending on water hardness and valve type.
-
Can I install a valve without cutting the pipe?
Yes — push-fit valves often require no cutting if pipe ends are clean and accessible.