This article provides a comprehensive, engineering-oriented overview of check valves, explaining what they are, how they work, where they are used, installation rules, advantages, and maintenance practices. Whether you are working in plumbing, HVAC, industrial piping, or pumping systems, understanding check valves is essential for ensuring safe and efficient fluid flow control.
What is a check valve?
A check valve, also known as a non-return valve or one-way valve, is a mechanical device that allows fluid (liquid or gas) to flow in only one direction while automatically preventing reverse flow. Unlike other valves, check valves operate without manual or external control; they rely solely on the forces generated by the fluid moving through the piping system.
Check valves are essential components in pipelines where backflow—fluid flowing in the reverse direction—would cause system inefficiency, contamination, equipment damage, or safety hazards. They are widely used in:
- Plumbing and water distribution systems
- Pump discharge lines
- Industrial processing
- HVAC systems
- Municipal water and wastewater systems
- Fire protection systems
Most check valves consist of:
- Valve body — the casing that houses the internal mechanism.
- Disc, ball, flap, or piston — the internal element that moves to allow or block flow.
- Seat — the sealing surface that prevents backflow.
- Spring (in spring-loaded types) — provides additional closing force.
How do check valves work?
Check valves operate using a simple principle: forward flow opens the valve; backflow closes it. When fluid pressure on the inlet side exceeds the pressure on the outlet side (called the "cracking pressure"), the disc or mechanism lifts, allowing flow. When flow decreases or reverses, the mechanism immediately closes, preventing backflow.
The typical operation cycle includes:
- Forward flow begins: As pressure builds, the disc moves away from the seat.
- Full opening: When system pressure stabilizes, the valve remains fully open with minimal flow resistance.
- Flow slows: Reduced velocity causes the disc to begin returning to the closed position.
- Backflow pressure increases: Even slight backpressure forces the disc tightly against the seat.
- Valve closes: The system is protected from reverse flow.
There are several common internal mechanisms used in check valves:
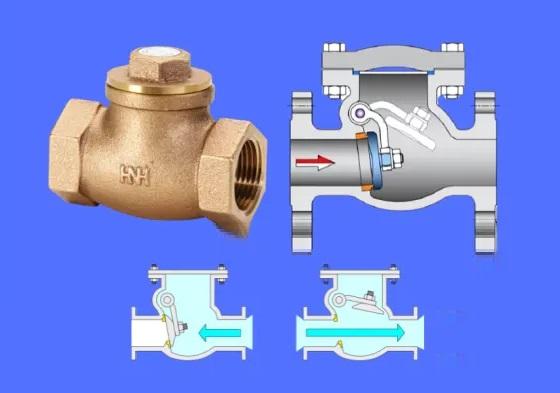
- Swing check — a hinged disc swings open with flow and slams shut with backflow.
- Spring-loaded in-line check — a spring-loaded disc moves linearly with flow.
- Lift check — a disc lifts vertically when flow occurs and drops by gravity or spring force.
- Ball check — a rolling or floating ball seals against a seat.
- Dual-plate (butterfly) check — two spring-loaded plates fold open and snap shut quickly.
Each mechanism is suited to different applications depending on flow characteristics, orientation, response time, and pressure rating.
Where should check valves be installed?
Check valves must be installed in places where preventing reverse flow is critical to protecting equipment or ensuring system functionality. Installation location depends on system design, but the following are the most common placements:
- On pump discharge lines: Prevents backflow from the system into the pump when the pump is off.
- In domestic water systems: Prevents contamination or mixing of hot and cold water lines.
- Before and after water meters: Stops meter reversal or contamination of municipal systems.
- In HVAC and chilled water loops: Maintains proper flow direction through coils and equipment.
- In irrigation systems: Prevents backflow of chemicals or debris into water supplies.
- In well systems: Maintains prime and prevents water from flowing back into the well.
For optimal performance, check valves should be installed:
- in straight pipe sections,
- away from elbows or turbulence,
- in orientations appropriate for the valve type,
- with flow direction following the marked arrow on the valve body.
When should I use a check valve?
You should use a check valve in any application where uncontrolled reverse flow would cause problems. Common scenarios include:
- Protecting pumps: Backflow can cause reverse rotation or impeller damage.
- Maintaining line pressure: In pressurized systems where fluid must remain in the line.
- Avoiding contamination: Especially in potable water systems.
- Preventing siphoning: In vertical or downhill piping where gravity flow could reverse direction.
- Equipment isolation: Ensures flow goes through specific components in the correct direction.
- Automatic systems: Where no operator is present to manually control a valve.
Check valves are typically required by plumbing codes, industrial standards, and system performance guidelines in many different industries.
What are the advantages of using a check valve?
Check valves offer several key advantages, making them essential in both residential and industrial applications:
- Prevents backflow automatically — no manual control or power source required.
- Protects pumps and equipment from backspin, water hammer, and damage.
- Improves system efficiency by maintaining pressure and preventing reverse circulation.
- Conserves energy in pumping systems by reducing pressure fluctuations.
- Low maintenance — most check valves have few moving parts.
- Small footprint and simple installation.
- Higher reliability in automated and unmanned systems.
Overall, the simplicity and dependability of check valves make them indispensable components in fluid systems.
What are the rules for check valves?
There are several best-practice rules and code requirements that must be followed when installing or selecting check valves. These include:
1. Install check valves in the correct orientation
Most valve bodies include a flow direction arrow. Installing the valve backward will prevent flow entirely.
2. Use the correct valve type for your flow conditions
For example:
- Swing checks require horizontal orientation.
- Spring-loaded in-line checks can be installed in any orientation.
- Ball checks need adequate pressure to seal properly.
3. Avoid turbulent sections of pipe
Avoid placing check valves directly after elbows, tees, or pumps unless manufacturer guidelines allow it. Turbulence causes premature wear and valve chatter.
4. Ensure adequate upstream pressure
Check valves require minimum "cracking pressure". If pressure is too low, the valve may stay closed or flutter.
5. Select proper materials
- Brass or bronze for household water
- Stainless steel for corrosive or high-pressure systems
- PVC or CPVC for low-pressure irrigation or chemical lines
6. Follow local plumbing and industrial codes
Certain installations—especially those involving potable water—require backflow prevention devices that may include check valves.
7. Use unions or flanges for serviceability
Check valves may need periodic inspection or replacement.
What is the primary concern when installing a check valve?
The primary concern during installation is ensuring that the check valve operates smoothly without water hammer, chattering, or flow restriction. Improper installation can result in:
- Water hammer — a dangerous pressure surge caused by sudden valve closure.
- Chatter — rapid opening and closing when the flow is unstable.
- Leakage — improper sealing due to incorrect orientation or turbulence.
- Premature wear — especially in high-velocity lines.
To avoid these issues, ensure:
- The valve is the correct type for the system’s flow profile.
- The valve is installed in a low-turbulence location.
- Pressure and flow rates meet the valve’s rated specifications.
Does it matter if a check valve is horizontal or vertical?
Yes. The orientation of a check valve matters because different valve mechanisms rely on gravity, springs, or pressure to function. Installing a valve incorrectly may cause it to stick open, fail to close, or wear prematurely.
Horizontal installation
- Suitable for most swing check valves.
- Ideal for systems with stable horizontal flow.
- Reduces debris accumulation in many designs.
Vertical installation
Check valves installed vertically must have upward flow direction. Only spring-loaded or lift-style valves are appropriate for vertical orientation.
Common rules:
- Swing check valves generally cannot be installed in pipes with downward vertical flow.
- Spring-loaded valves can be installed in any direction as long as the manufacturer permits it.
- Ball check valves often work well in vertical lines due to gravity assistance.
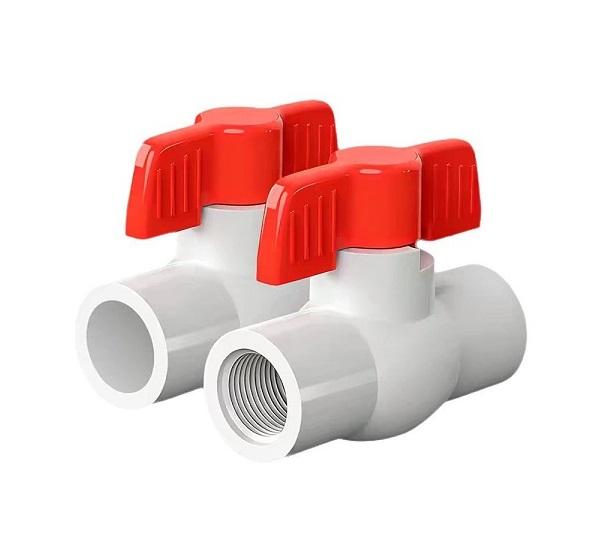
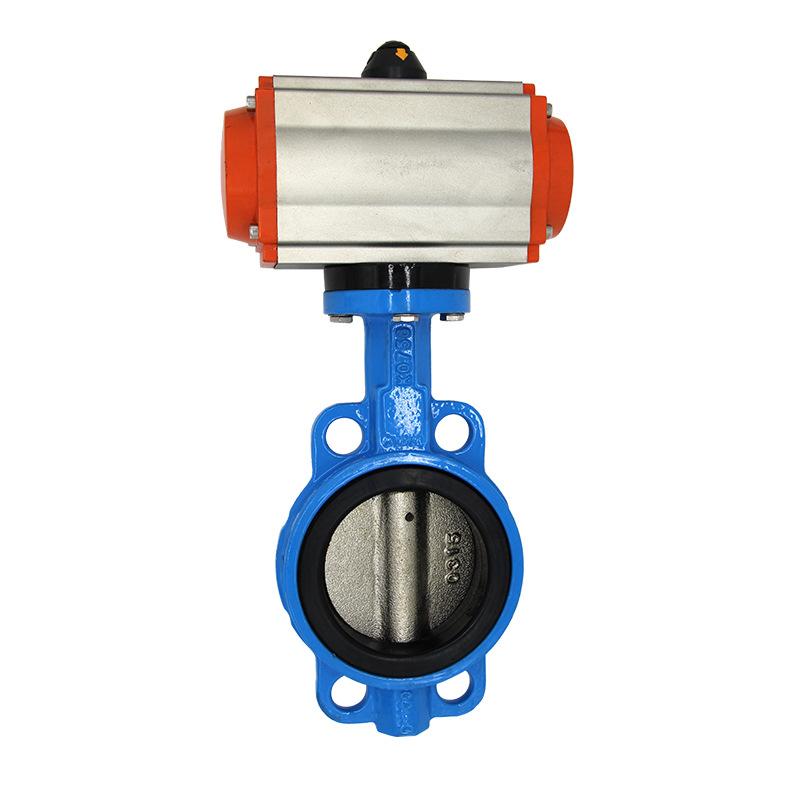
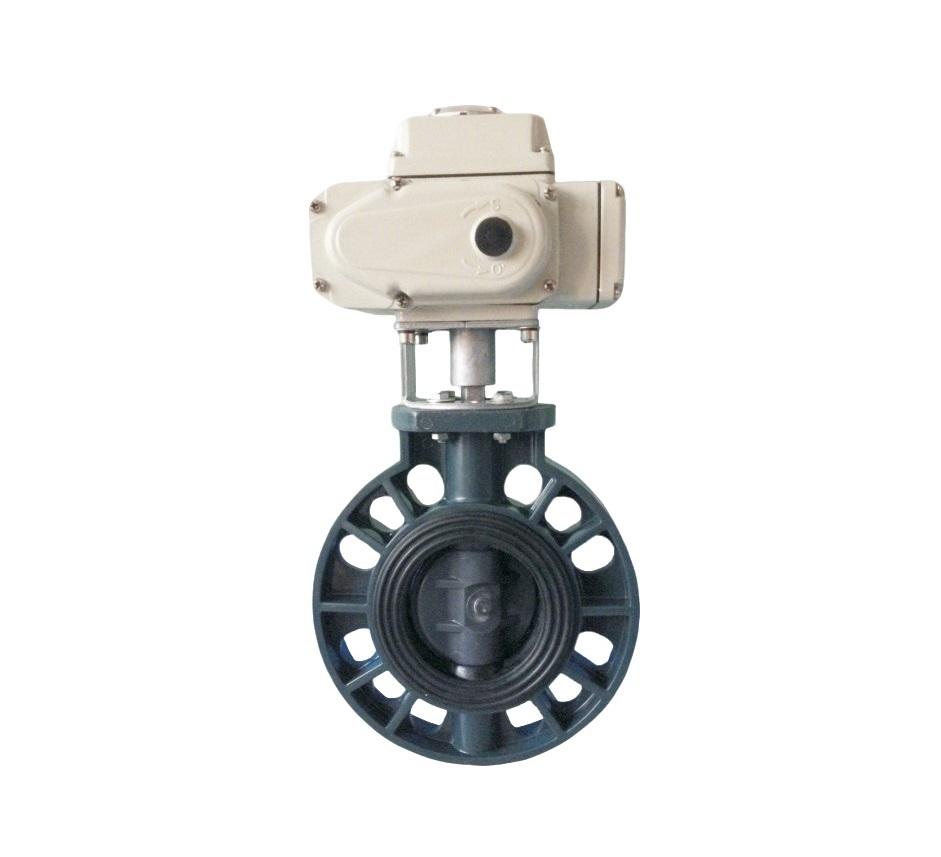
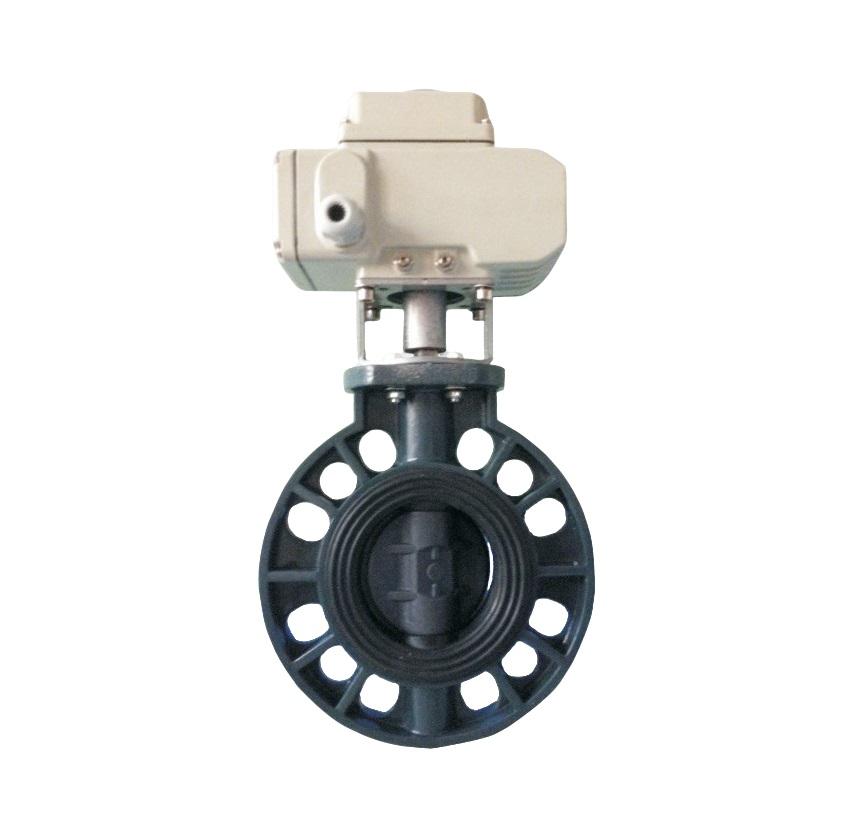
Types of check valves
Check valves come in various designs, each suited to different pressures, flow rates, and installation conditions. Here is a summary of the most common types:
| Type of Check Valve | Features | Best Applications |
|---|---|---|
| Swing Check Valve | Hinged disc, low pressure drop, large sizes available | Water systems, municipal lines, horizontal piping |
| Lift Check Valve | Disc lifts vertically; good sealing | High-pressure systems, steam, gas lines |
| Spring-Loaded In-Line Check | Fast closing, vertical or horizontal installation | Pumps, industrial systems |
| Ball Check Valve | Rolling ball seals the seat; simple and robust | Sewage, slurry, non-clean fluids |
| Dual-Plate Check (Butterfly) | Compact, low weight, quick response | HVAC, industrial processing |
| Foot Valve | Screened check valve for pump suction | Wells, irrigation, pump inlets |
Common check valve materials
Material selection depends on fluid compatibility, temperature, and pressure:
- Brass: plumbing, potable water.
- Bronze: marine environments.
- Stainless steel: corrosive fluids, high pressure.
- PVC/CPVC: irrigation, low-pressure chemical lines.
- Cast iron: municipal and industrial piping.
How to replace well pump check valve
A failing check valve in a well system can cause pump short-cycling, loss of pressure, backflow into the well, or loss of prime. Replacing the check valve helps maintain consistent system pressure and protects the pump. Below are general steps for replacing a well pump check valve located on the pump discharge line or integrated with the pump.
Tools and materials you may need:
- Replacement check valve (rated for well systems)
- Pipe wrench or adjustable wrench
- Plumber’s tape (PTFE)
- Pipe sealant
- Pressure gauge (optional)
Step-by-step procedure:
-
Turn off power to the well pump.
Safety first—cut electrical supply at the breaker. -
Drain the system.
Open a faucet or use a drain valve to relieve system pressure. -
Locate the check valve.
This may be:- in the pressure tank line,
- above the submersible pump,
- or near the wellhead on jet pump systems.
-
Remove the old valve.
Use wrenches to loosen fittings, being careful not to damage threaded sections. -
Inspect threads and fittings.
Repair or replace damaged pipe threads or unions as necessary. -
Prepare the new valve.
Wrap threads with PTFE tape and apply a thin layer of pipe sealant. -
Install the valve in the correct flow direction.
The arrow must point toward the pressure tank or home. -
Tighten all fittings.
Ensure no leaks but avoid over-tightening which can crack fittings. -
Restore system pressure.
Close drains, turn on the pump, and allow the system to pressurize. -
Check for leaks and cycling.
If the pump short-cycles, there may be another check valve issue or a leak somewhere else.
For deep-well submersible pumps, the check valve may be built into the pump itself, requiring the entire pump to be pulled from the well—typically a job best handled by a professional.
Troubleshooting common check valve problems
Even though check valves are simple devices, they can fail due to wear, debris, corrosion, or improper installation.
- Valve chatter: Often caused by low flow or incorrect valve type.
- Water hammer: Caused by sudden closure—use spring-loaded or slow-closing valves to fix.
- Sticking valve: Usually due to scale, debris, or corrosion—regular cleaning may be needed.
- Leakage/backflow: Worn seat, damaged disc, or incorrect orientation.
How to choose the right check valve
Selecting the correct check valve depends on several important factors:
- Flow rate — High-flow systems need low-resistance valves.
- Pressure — Ensure the valve meets system pressure requirements.
- Fluid type — Some fluids require corrosion-resistant materials.
- Piping orientation — Vertical vs. horizontal flow.
- Speed of closure — Fast-closing valves prevent water hammer.
- Maintenance access — Use unions or flanges for ease of replacement.
Carefully choosing the right valve helps ensure long-lasting and trouble-free performance.